Lifestance At Home Waxing Kit
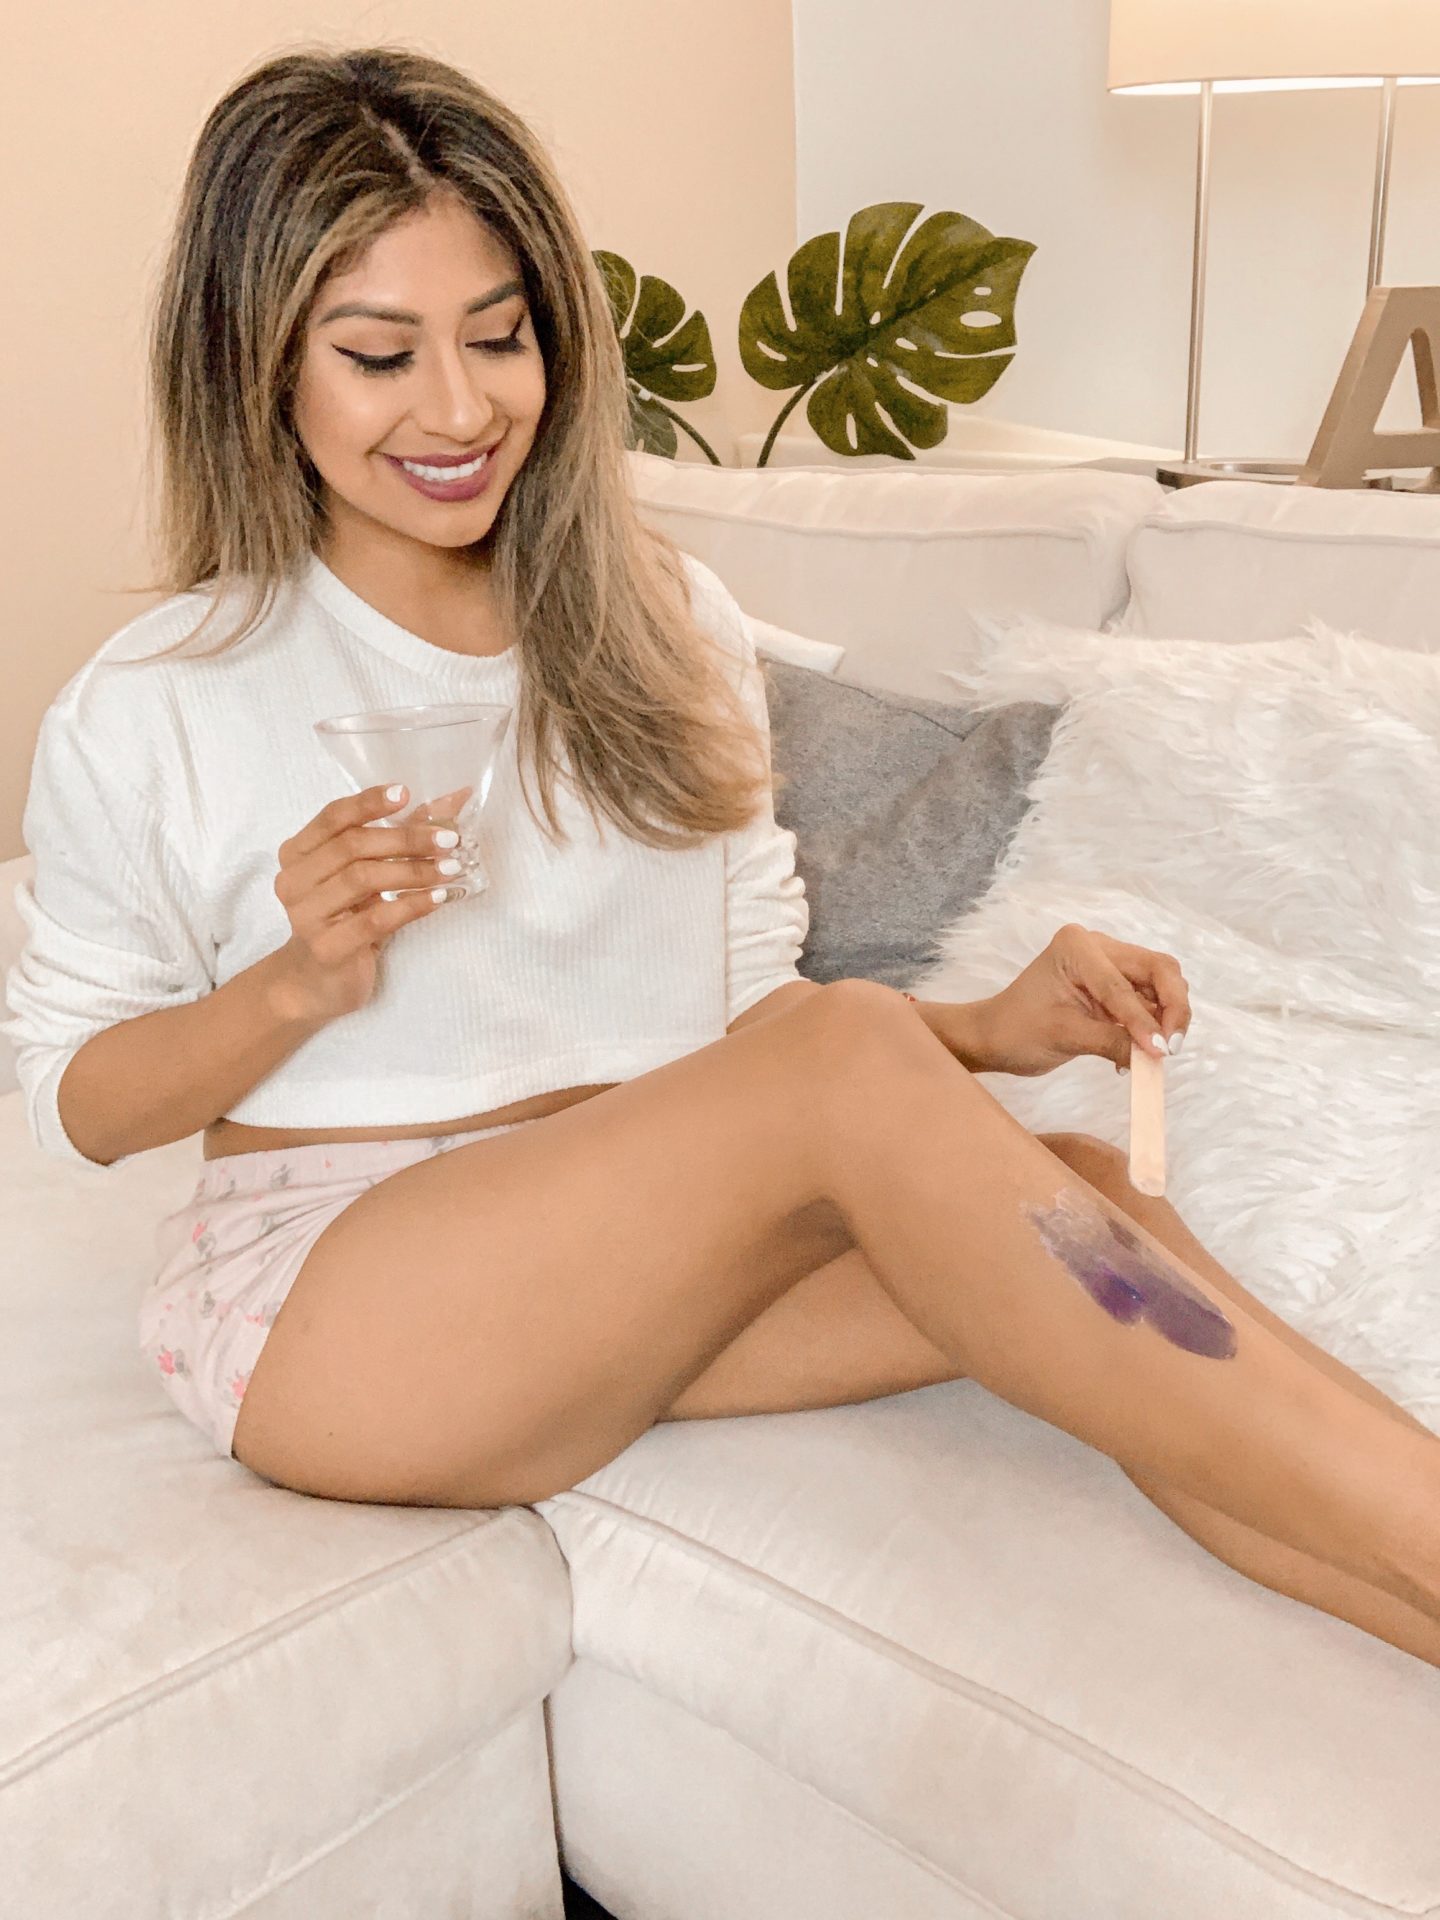
It’s time to take out the vodka and my Lifestance at-home waxing kit! The recent cold weather in Los Angeles has made a lot of us hibernate. If it weren’t for my most recent (a week ago) trip to Miami Beach and the 1 sunny day we day, I would be in major hair trouble 😅🤭. Haha. We have all been there. We have seen the memes and we have been the memes. That’s why a rainy day in LA is the perfect day to break the streak and focus on some self care.
If you are new to waxing you are prone to think that this shit hurts 😰. I mean it does. But then again it doesn’t. Okay let’s start off with the different types of waxing. There is hard wax (the kind that doesn’t hurt as much) and soft wax which hurts like a motherfucker. You know the one with the strip. Lol yeah don’t use those anymore! I won’t lie. First time I waxed my lady parts I went to European Wax Center and I can NEVER ever use regular wax. It does get expensive which is why I now have an at home waxing kit! 😉

How to Use an At Home Waxing Kit
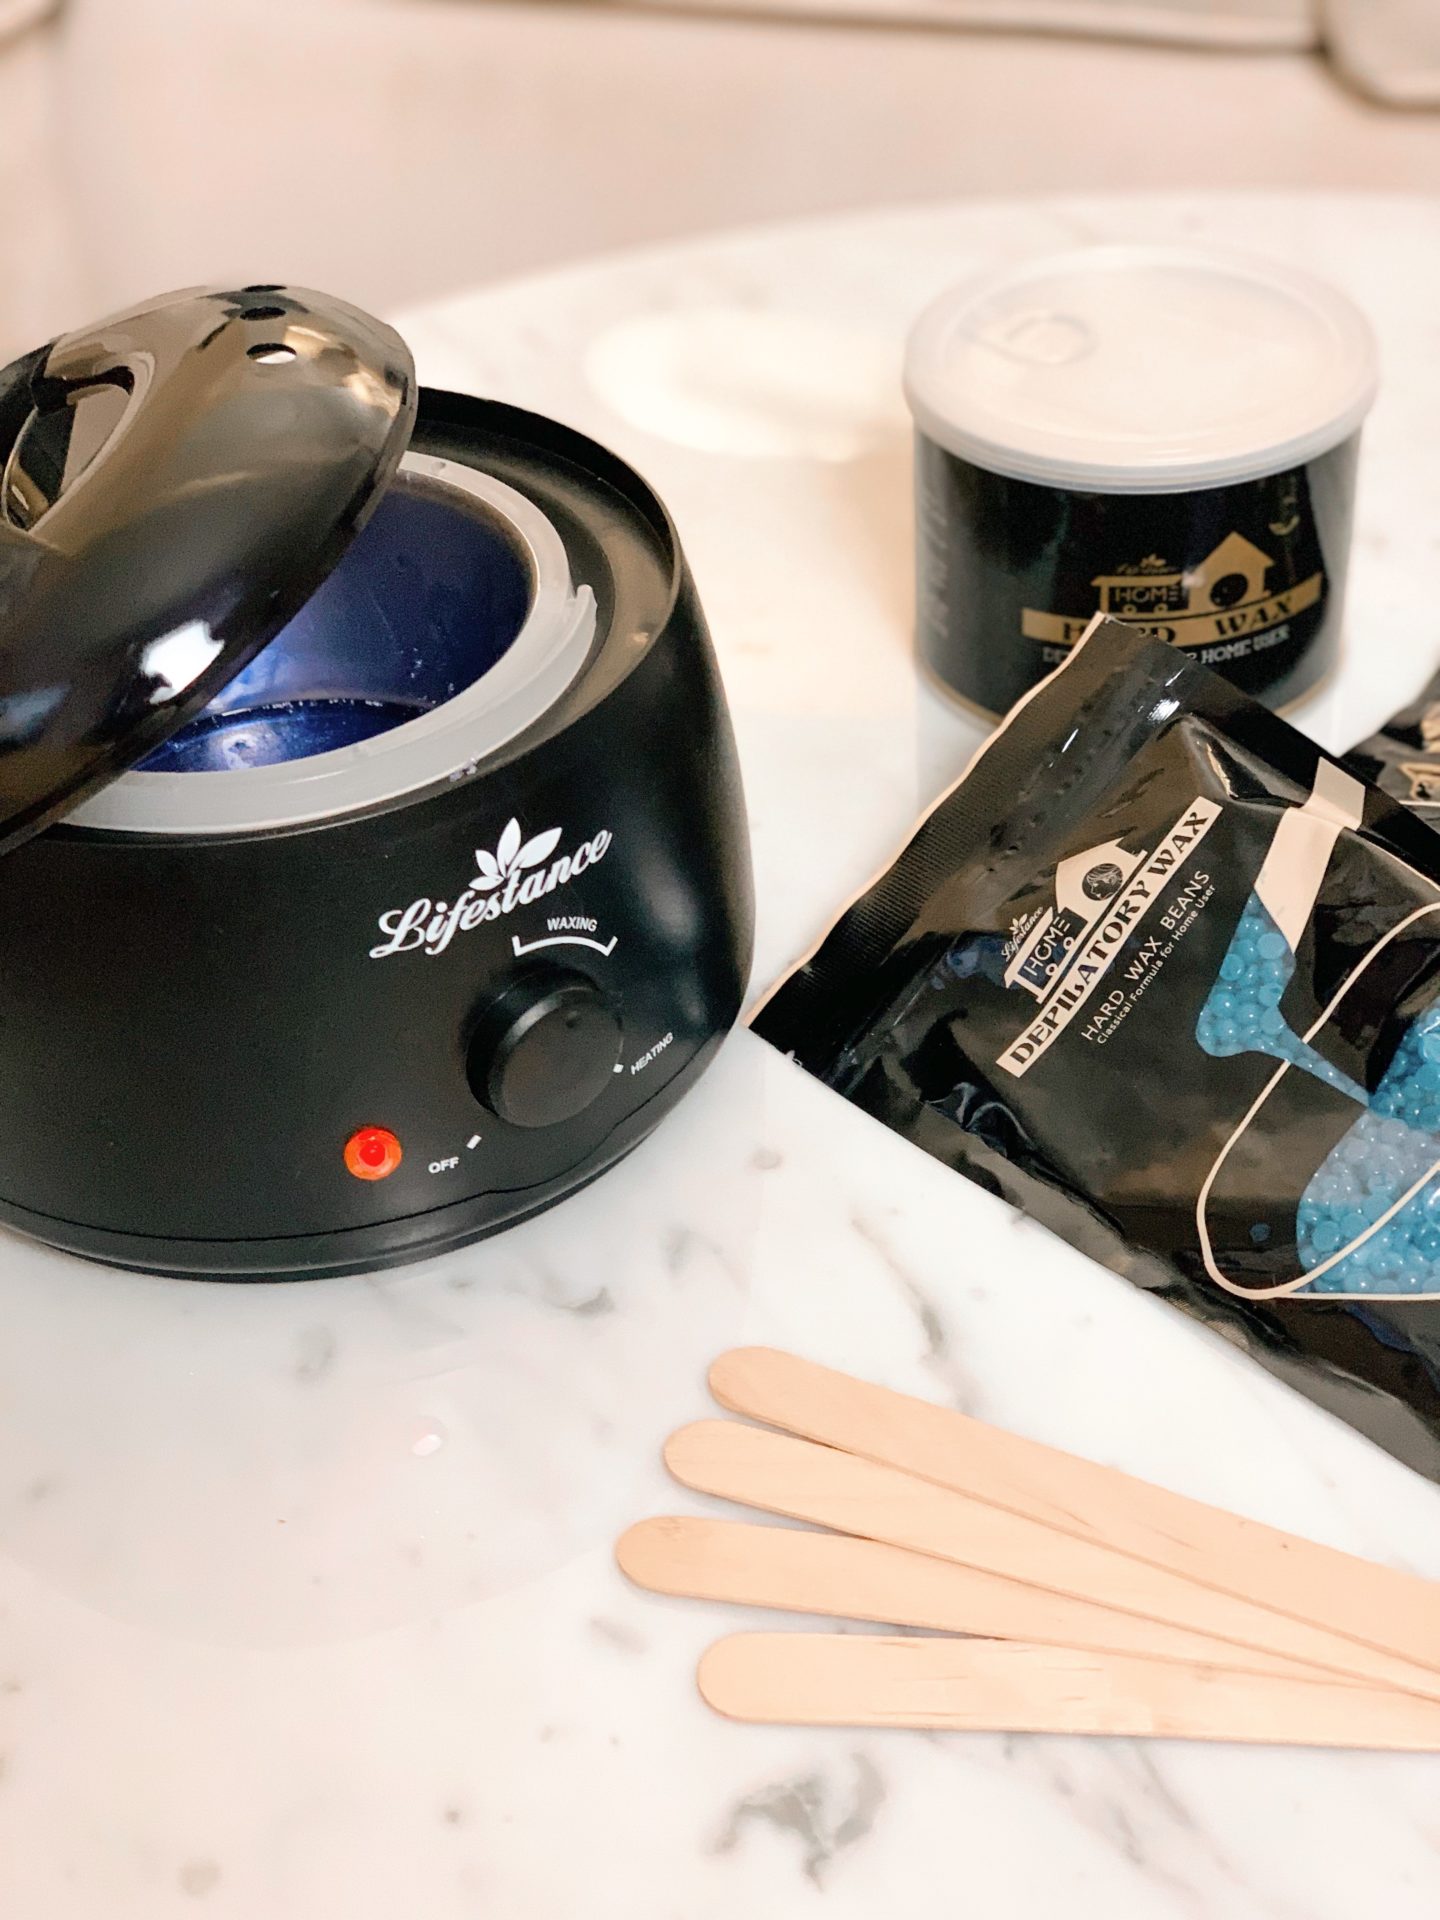
It is very easy to wax at home with Lifestance’s waxing kit. When you first receive your at home waxing kit, you will have 1 warmer (to the left) and a few different colored wax beans (to the right) and wood application sticks (bottom). First, you have to connect your warmer and set to the “waxing” guideline and then you add your wax beans inside and let them melt anywhere between 15-20 minutes.
Easy Application And Use
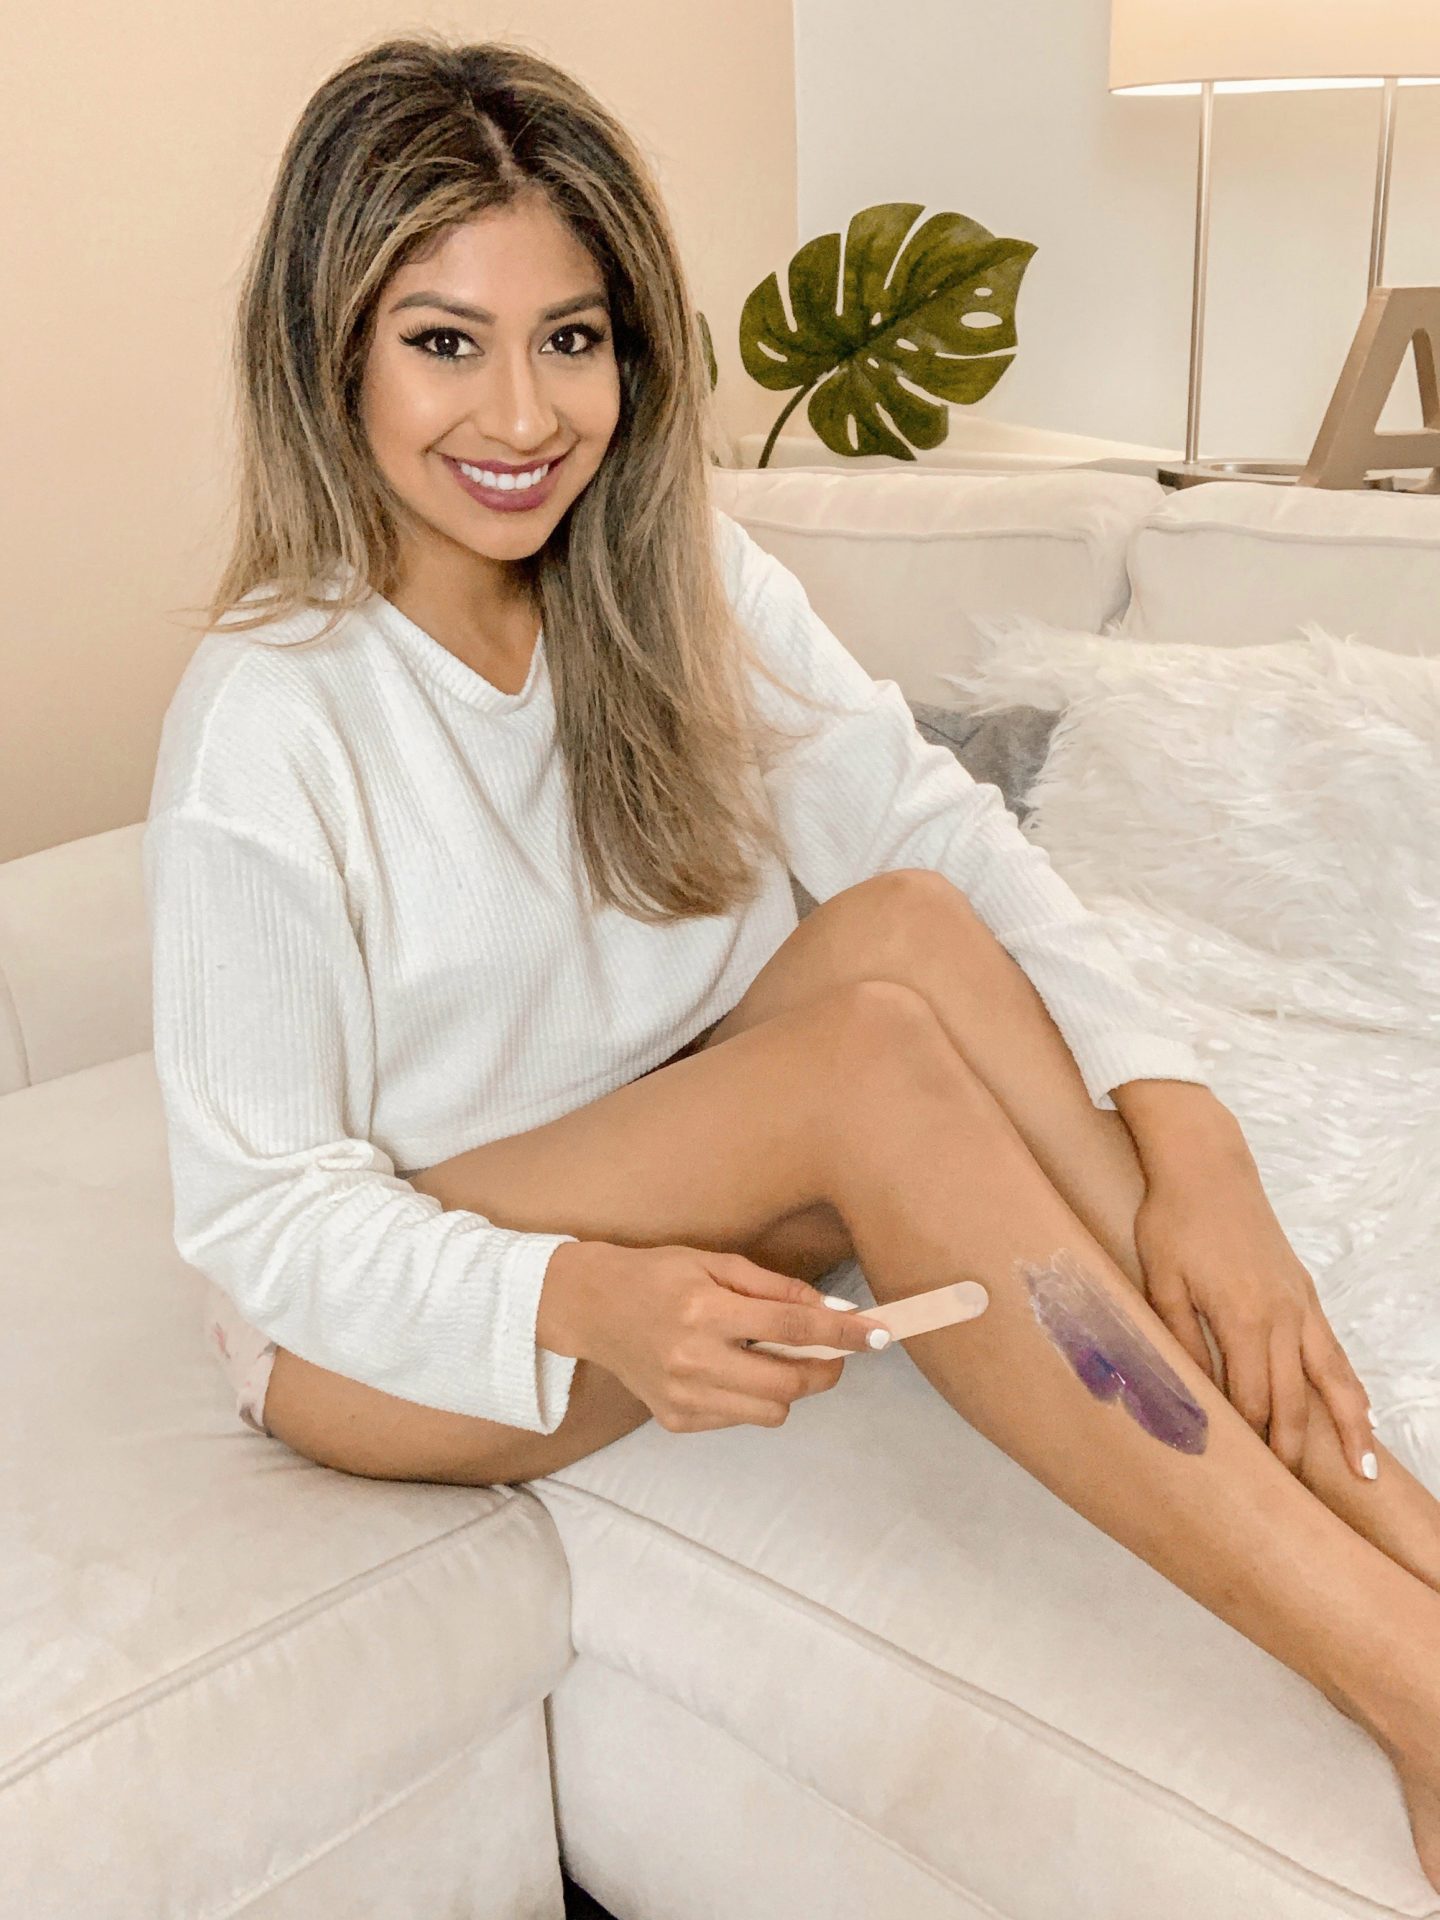
The application of the wax is very easy! First, you use your wood application stick to mix the wax around and test the consistency. You should be able to stir the wax easily but the wax will have a thick consistency; something like maple syrup. Meanwhile, clean off the area you desire to wax. Make sure the hair is no longer than 1/5″ and that the area is clean. Once the wax is ready, you pick up a small portion with your wood application stick to prepare before application. NOTE: I like to start with the lower body parts like my legs and mid-section and then work my way upwards to my arms/underarms ect.
Finally, you now can apply the wax in the direction of your hair growth. Typically downward or at an angle. This allows the wax to grip your hair correctly. You will need to work fast but carefully; the wax will dry and harden pretty fast. Allow the wax to dry anywhere between 10-20 seconds. You can test the wax by gently tapping and making sure it has fully harden. After you know it’s ready, gently peel off a corner (make sure you hold your skin down) and try to peel the wax in one quick swift movement. This will minimize the “pain” you feel — like ripping off a ban-aid. TA DA! You have now done your first at home waxing strip. Now to do the rest of your body 😜
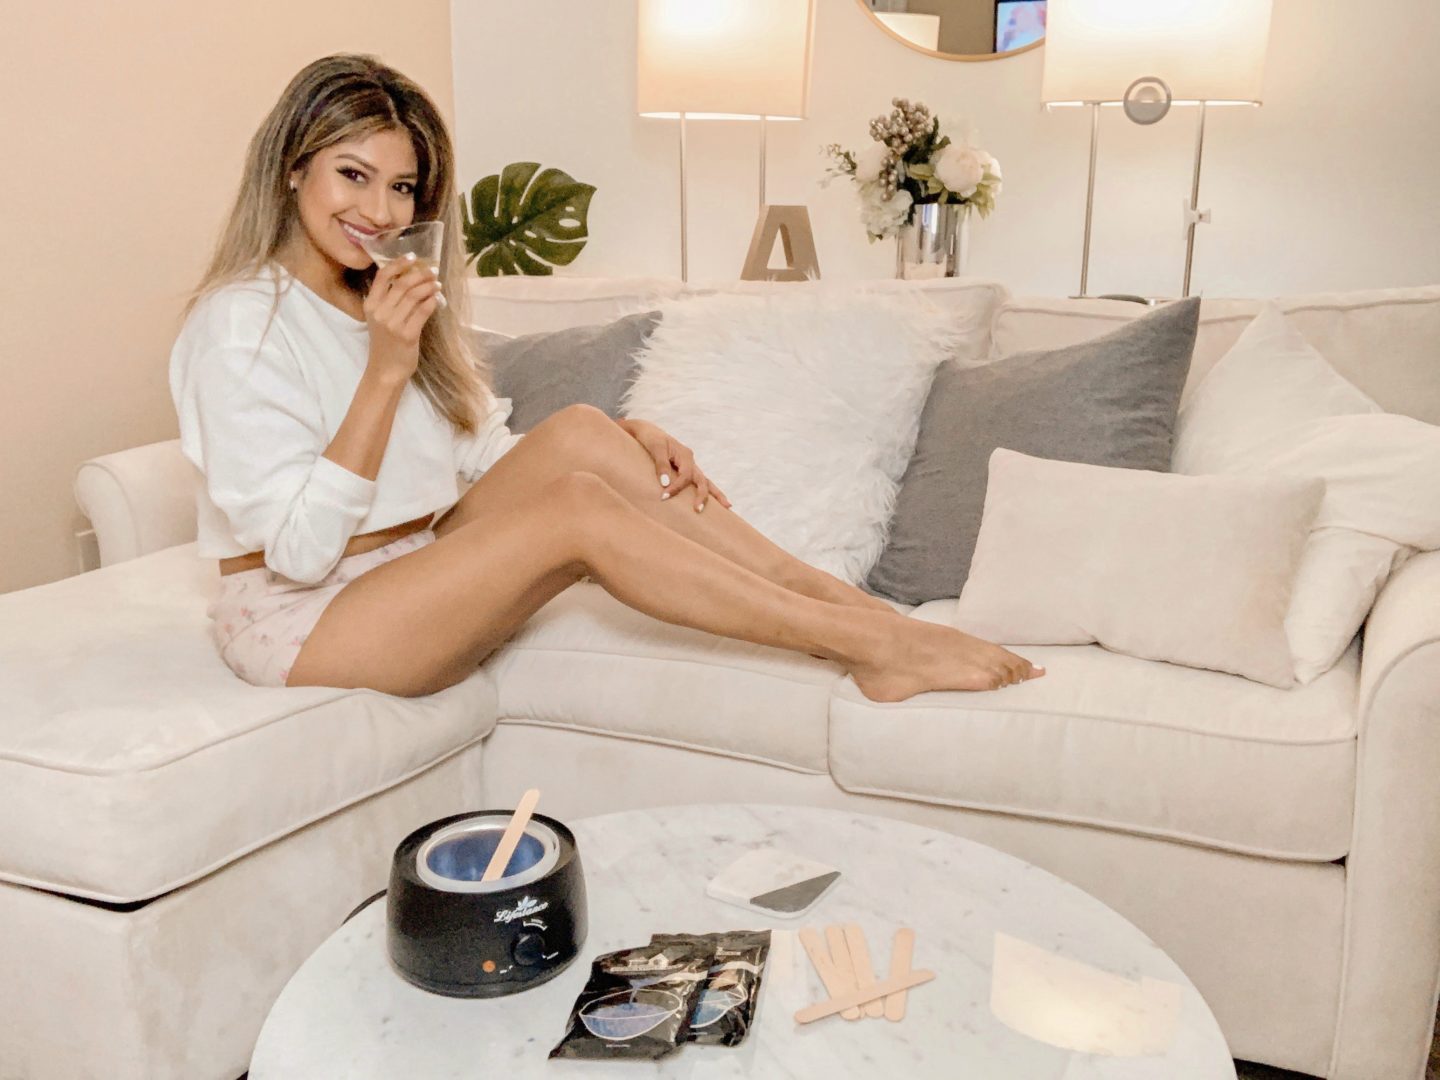
Now that you have seen how easy and simple it is to use an at home waxing kit, what are you waiting for? Don’t take my word for it, keep Googling and do your research but you will not be disappointed. If you have ever used an at home waxing kit, let me know your experience!
Dice games are all about understanding probability, but even luck needs a platform! It’s cool Bug Bunny offers so many options – slots, live casino, everything! Plus, easy deposits with GCash – check out the bug bunny app download for quick access & big wins! Seems legit & localized for PH players.
That’s a fascinating look at roulette probabilities! It’s amazing how much math is behind seemingly random games. Thinking about responsible gaming, platforms like happybingo slot download emphasize secure accounts & quick deposits – good to see! 👍