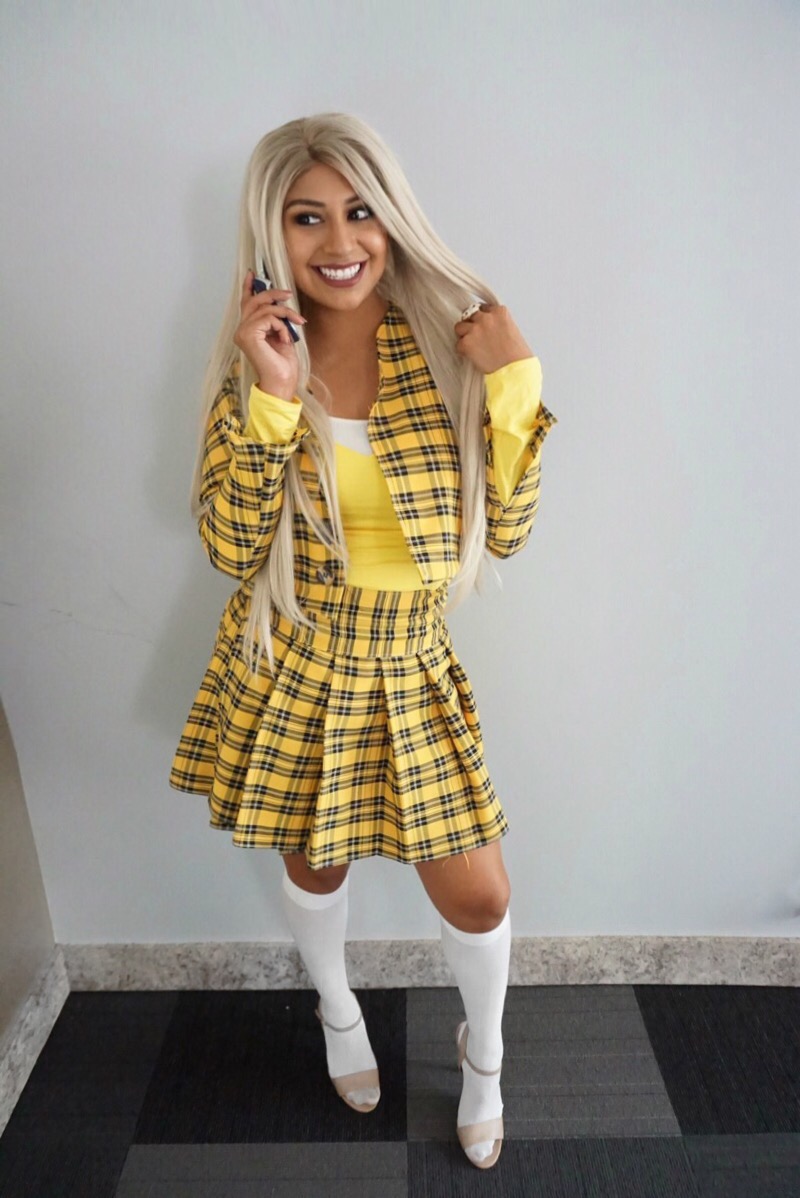
Create Your Very Own Cher Clueless Outfit
AS IF you haven’t seen Alicia Silverstone in the 1995 cult film Clueless rocking the classic Dolce & Gabbana yellow plaid skirt and blazer combo. Or maybe you have seen Iggy Azlea rocking a similar yellow plaid outfit in her Fancy music video. Clearly inspired by the Clueless movie. Wherever you may have seen the infamous outfit, you cannot deny it is a statement piece. Having been a long time fan of this movie, I just had to create the look and embrace Cher Horowitz’s character for Halloween 2017.
Here is somewhat of a quick DIY Clueless outfit inspired by the original, Dolce & Gabbana yellow plaid skirt from the movie Clueless. Notoriously worn by your favorite Beverly Hills girl, Cher Horowitz.
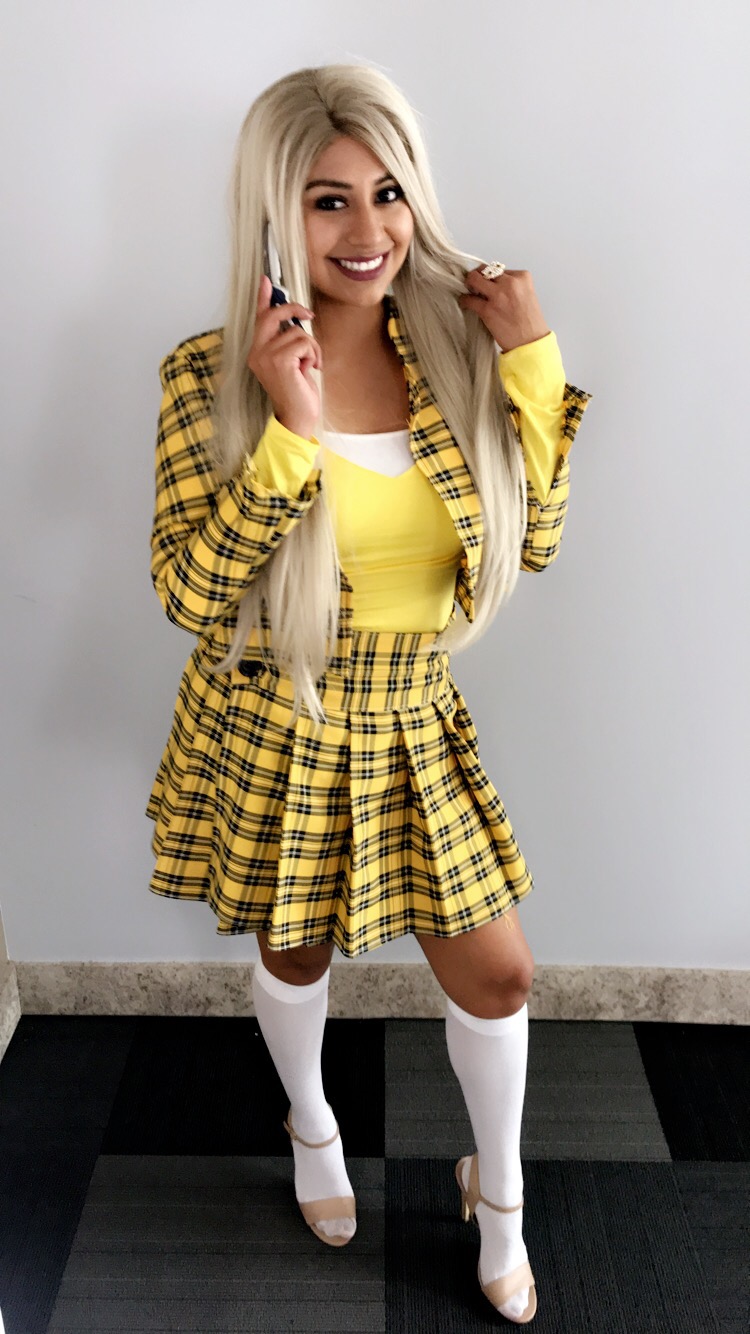
DIY Your Cher Clueless Outfit For Any Occasion
Let’s talk about how I was able to re-create this look. Living in Los Angeles, I have the ability to visit the Fashion District located in the heart of downtown to look for all sorts of fabrics for creating outfits and looks that may or may not be found in stores. This is exactly what I chose to do for my yellow plaid clueless outfit. I wanted to create a replica as close to the original Dolce & Gabbana yellow plaid skirt and blazer. Let’s face it, I could have bought the alternative outfit from Dreamgirls but wheres the fun in that?! Creating outfits is very fun and rewarding! Not many people can say “I made this” when rocking a bold outfit.
But first, we must find the yellow plaid fabric
Finding the correct fabric for this look was the hard part. It took a few hours of running around downtown Los Angeles with a cellphone picture of Alicia Silverstone but I can honestly say, this was the only yellow plaid that came close to the original pattern. Not too shabby.
Second, we create the pleats of our skirt
To use a pattern or to not use a pattern? I must admit, I am a self taught pattern maker and seamstress. Creating Halloween costumes and outfits dates back to when I was 12 years old and my aunt bought me a hand sewing kit. Shortly after I upgraded to a very old Brother factory sewing machine which weighted a ton! Okay, maybe not a literal ton but it was heavy enough to constantly ask my mom or dad for help every time I wanted move it from my garage into my living room or dining room.
Okay, let’s just wing it!
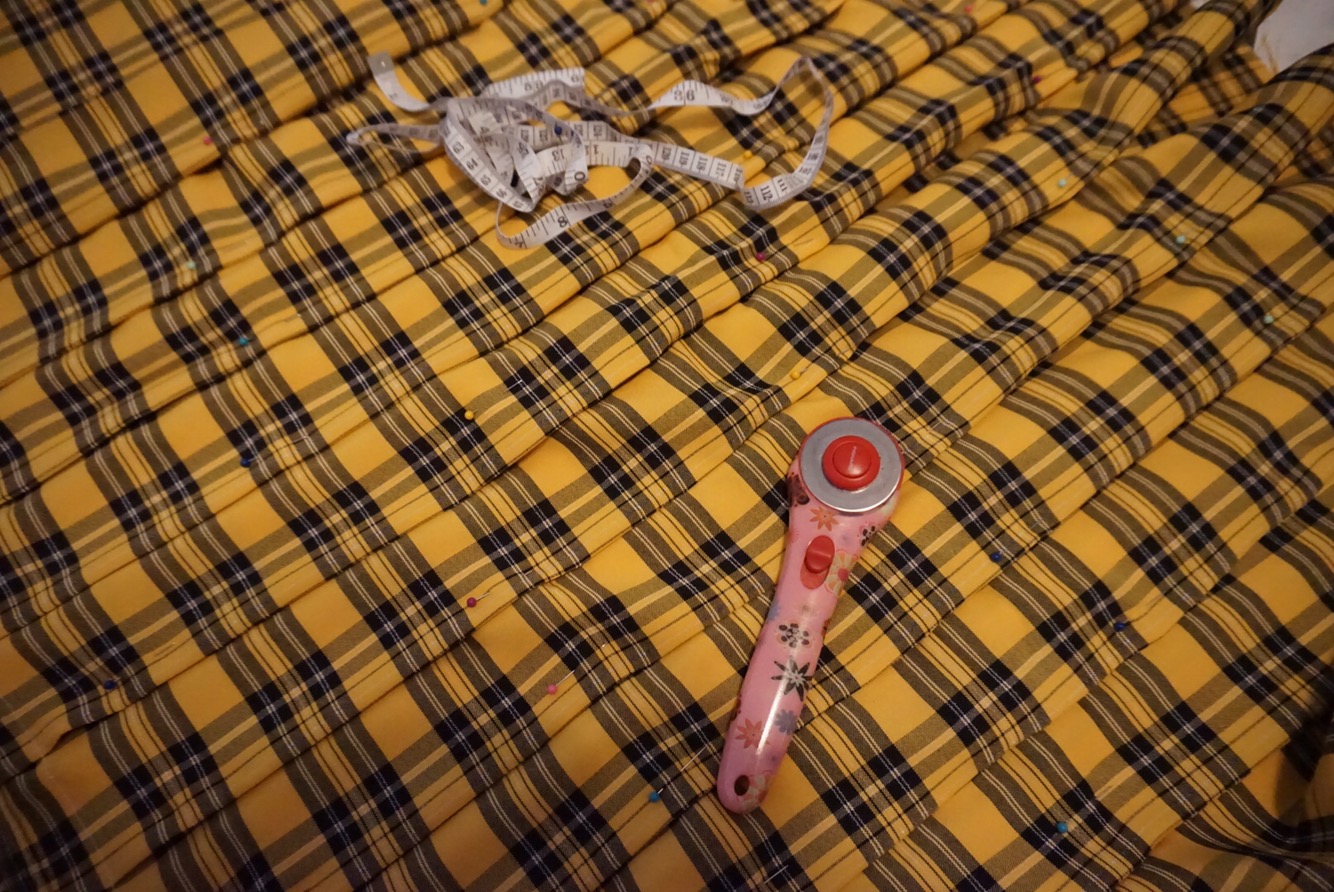
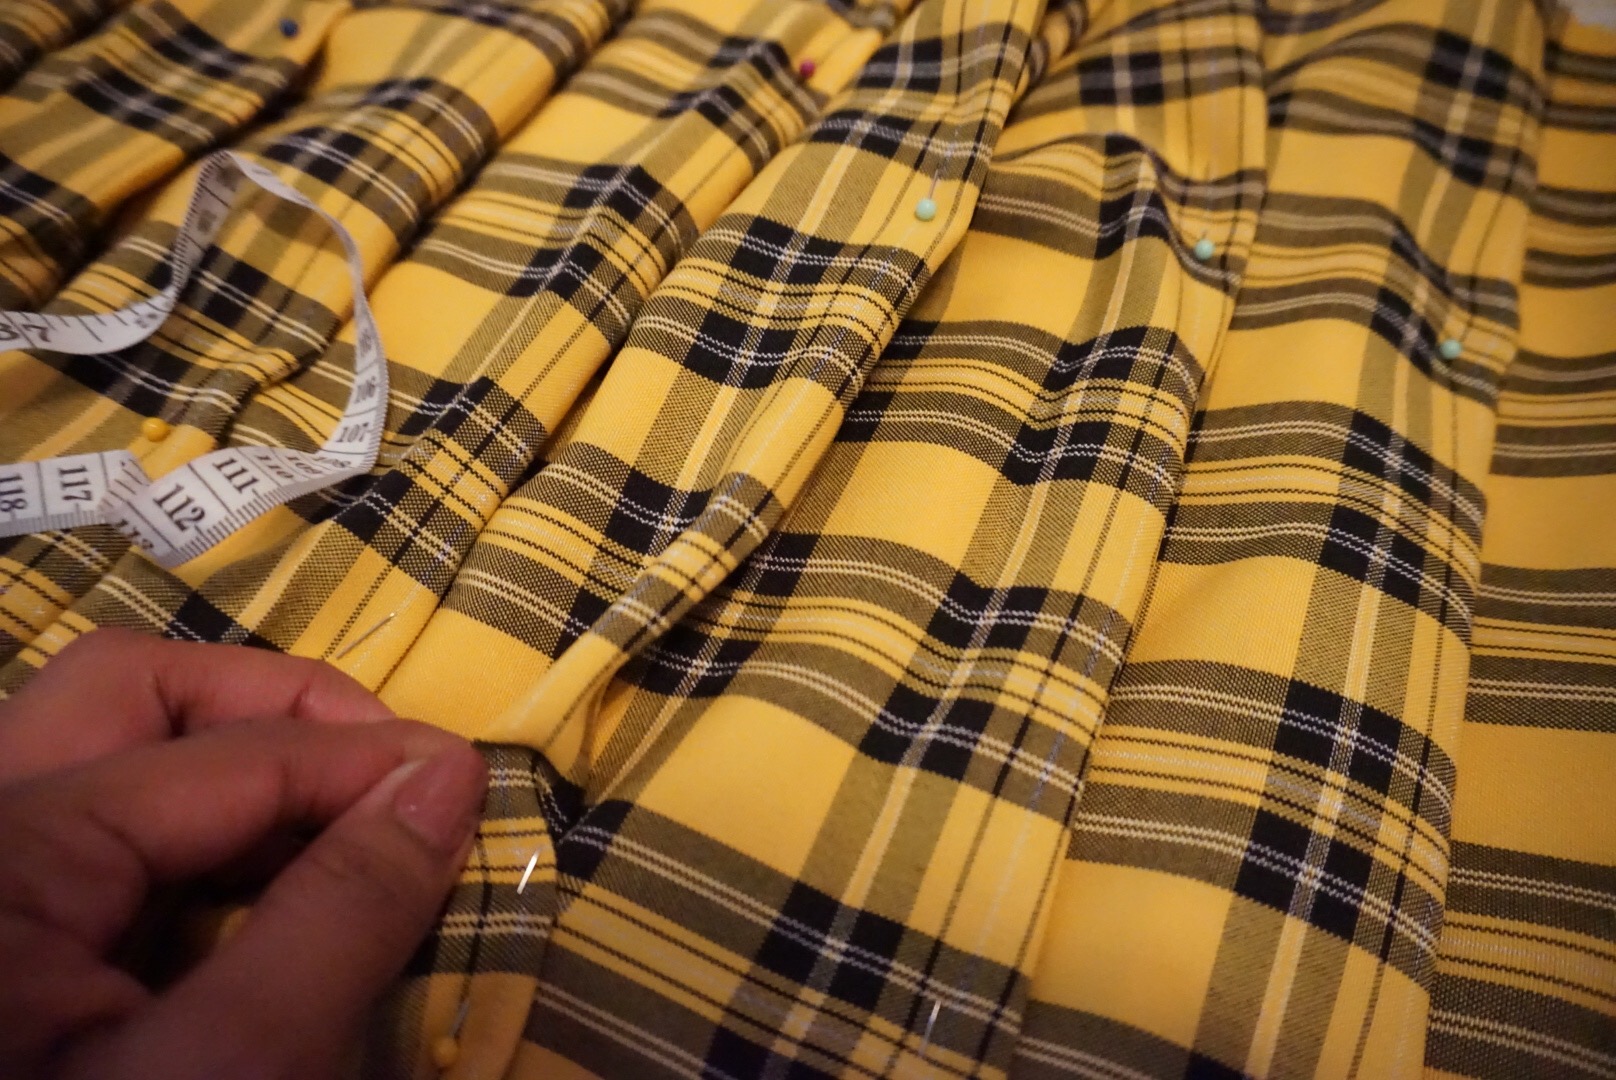
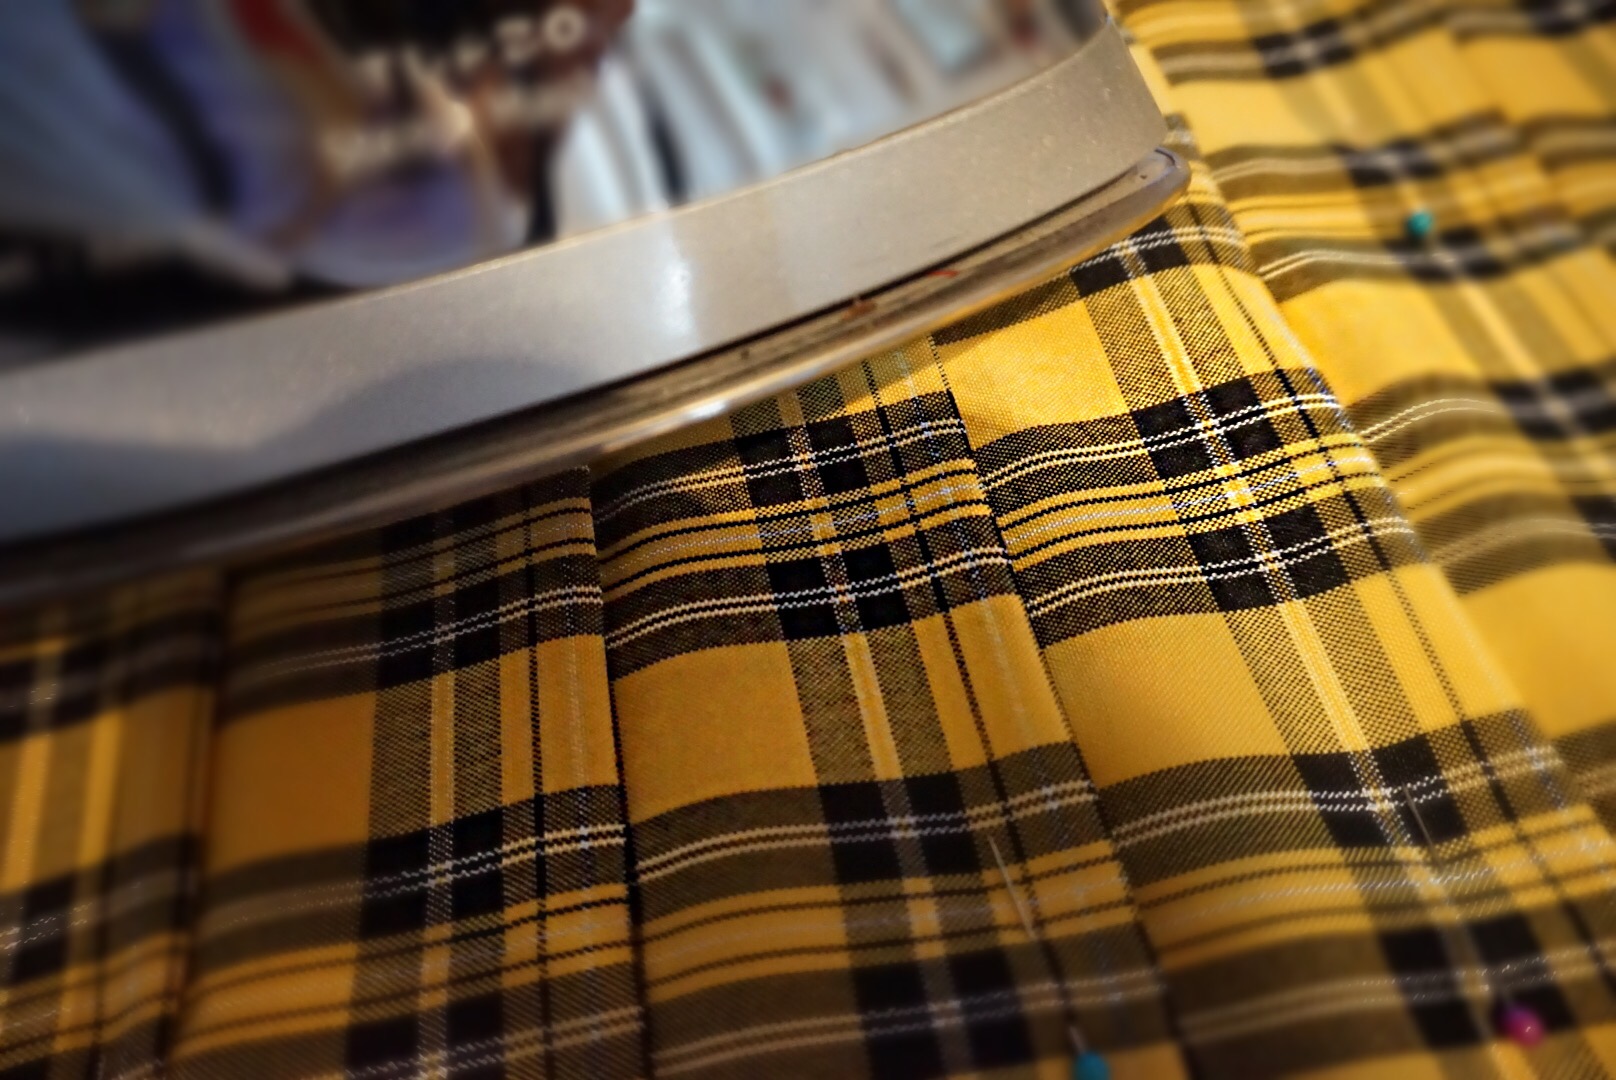
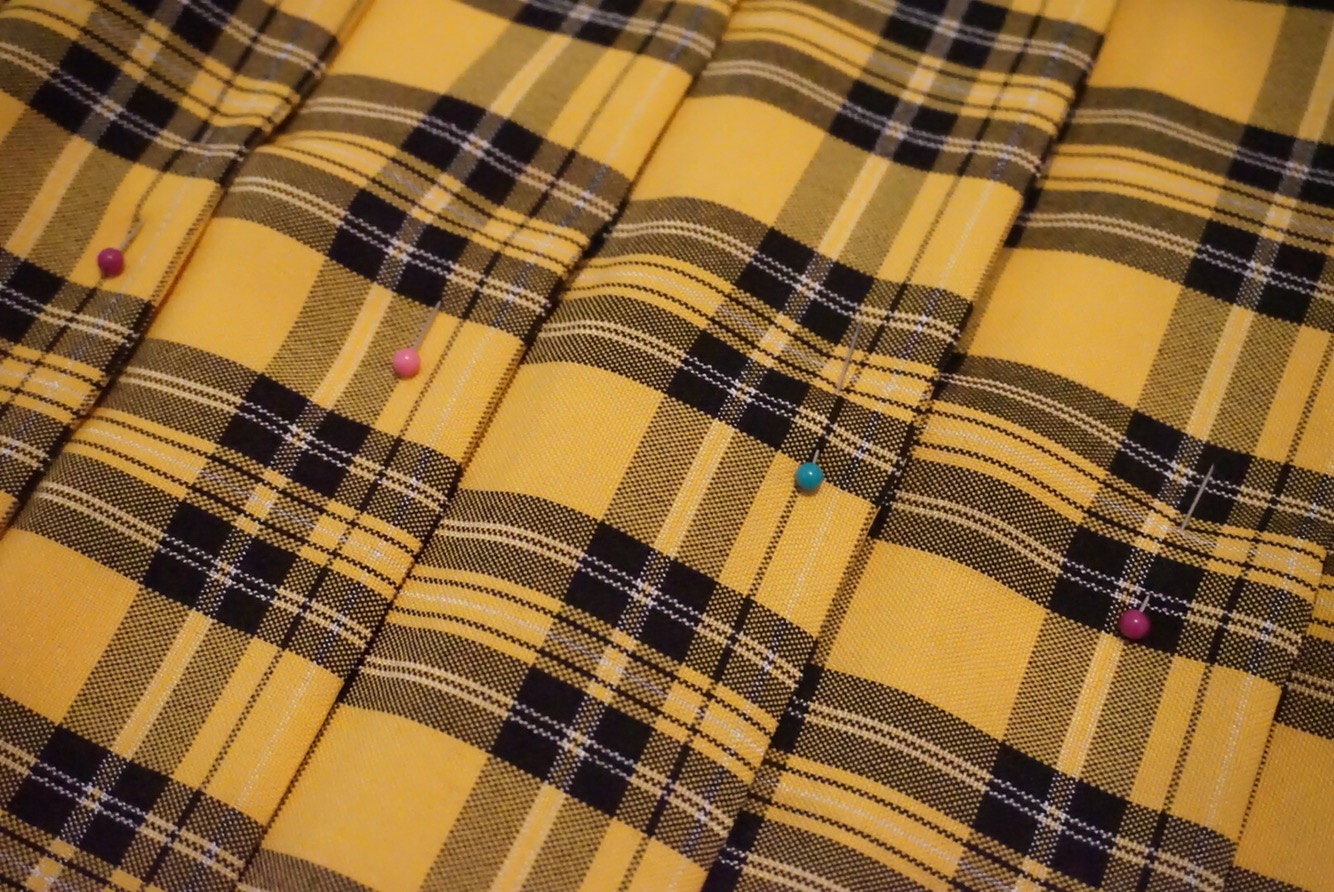
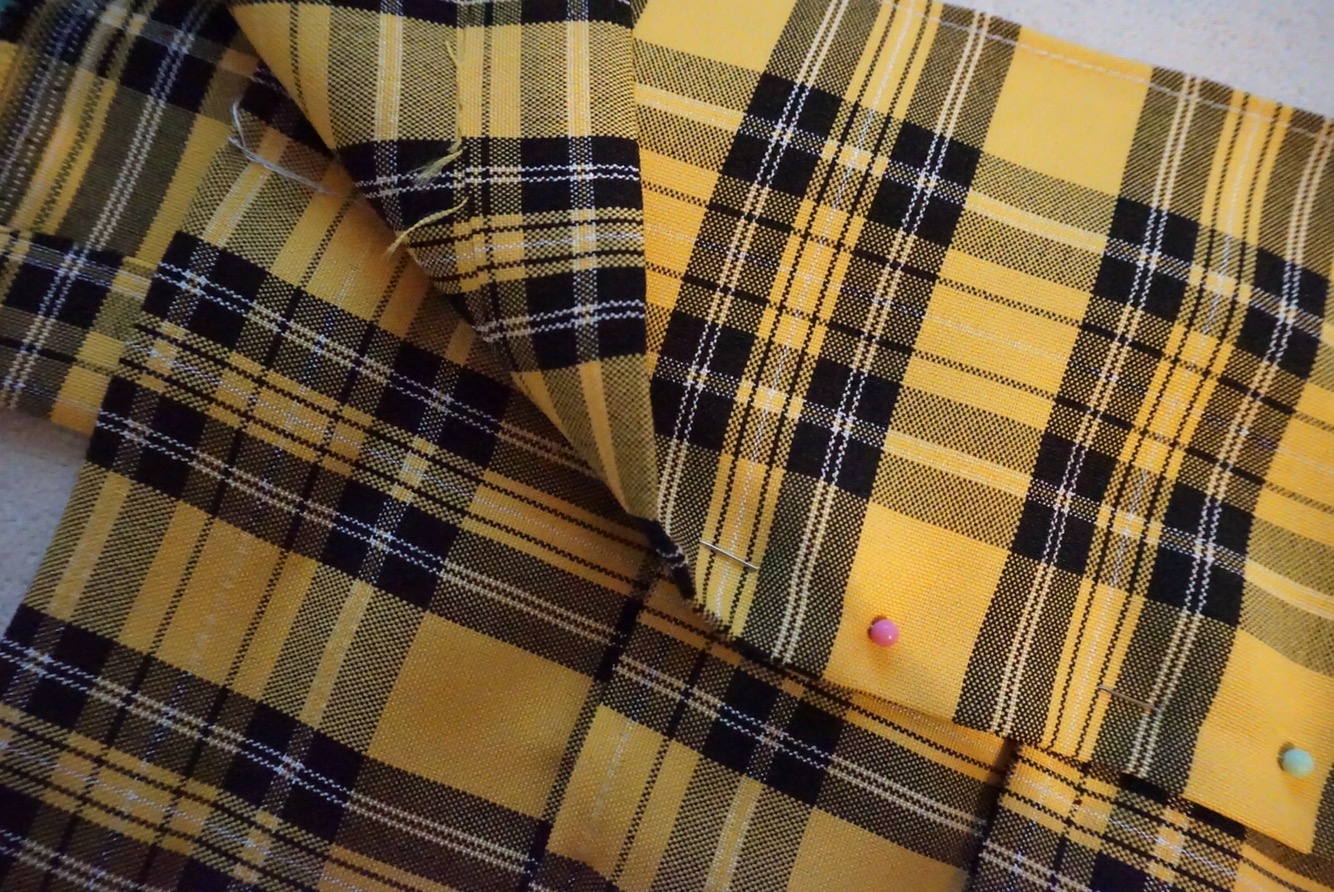
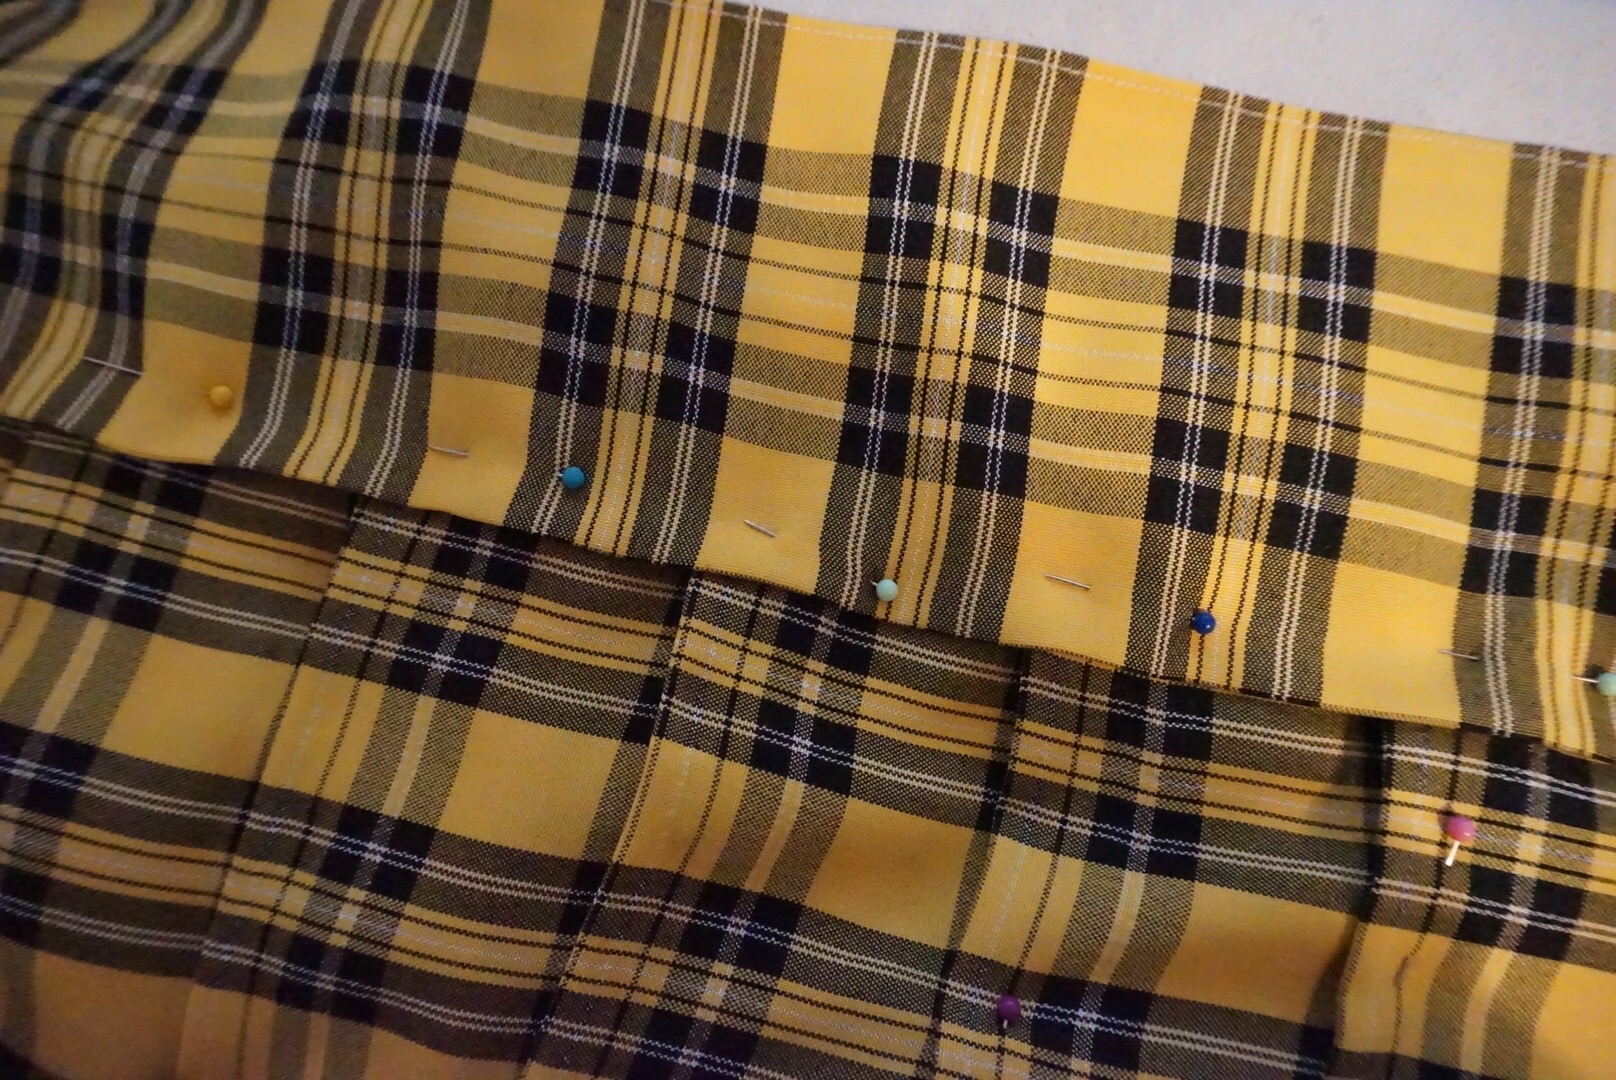
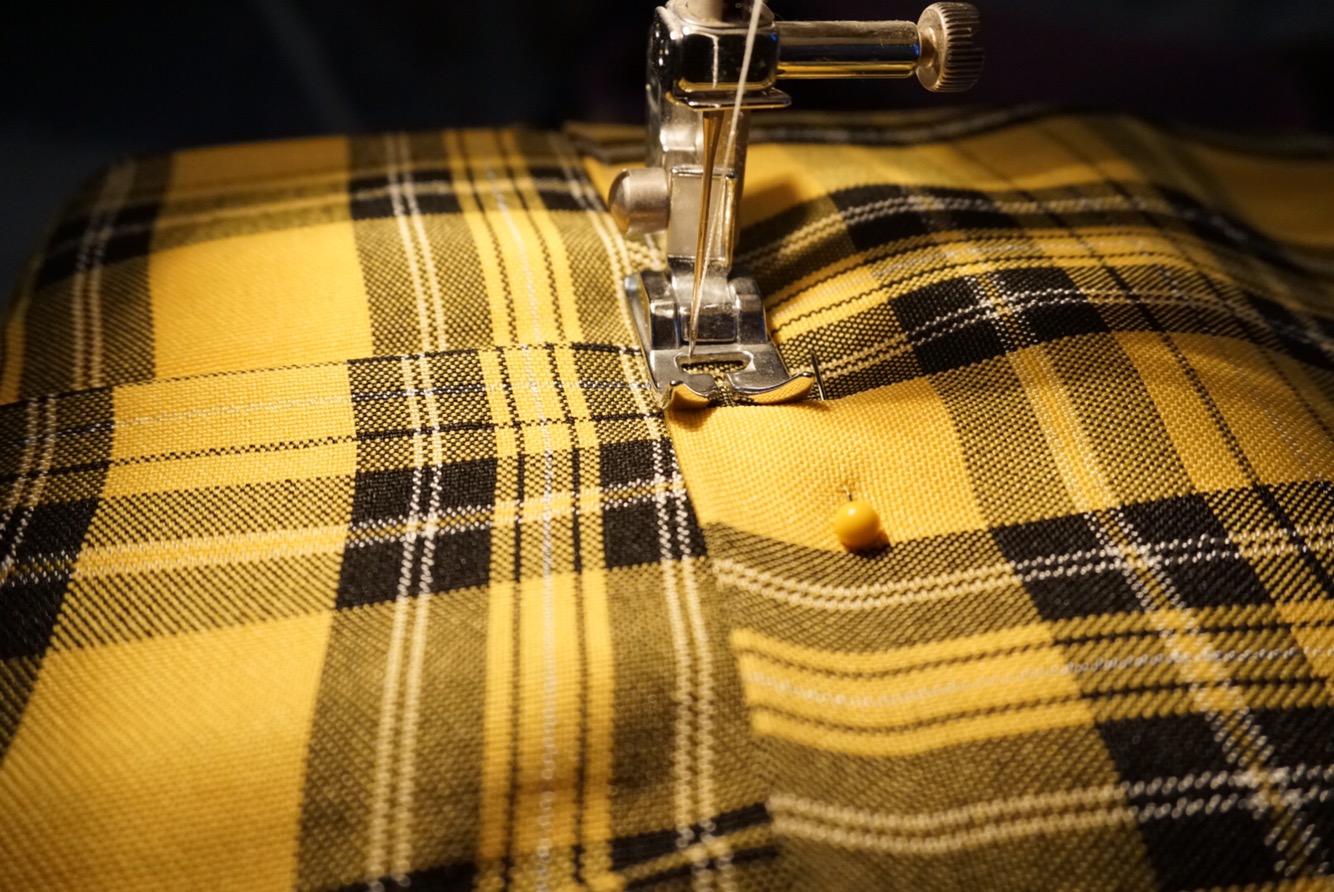
Needless to say, I did not use a pattern to create the yellow pleaded skirt. What I actually did was I followed the pattern of the plaid and used my better judgement on the size of the pleats. I aimed for about 3-4 inches and I pinned all the pleats down and then steamed ironed them flat to allow a straight stitch across the very top of the fabric to hold the pleats together. Your iron will be your best friend for this project! Not to mention the plaid pattern definitely helps keep your pleats aligned and perfectly straight!
That’s cool and all but how do I know the length of my skirt ?
Very good question I might say. I definitely cannot lie and must admit once again, I pleated and pleated until I had enough fabric to wrap around my waist 1.5 then proceeded to cut. Why are you wasting so much fabric you may ask? Well I knew if I cut it too short I was screwed. So I rather have .5 extra fabric attached to my skirt and cut the correct amount later. Also, I envisioned my skirt to overlap because I would be adding buttons and creating button holes to hold my skirt together while wearing it.
Third, we create the skirt waist band
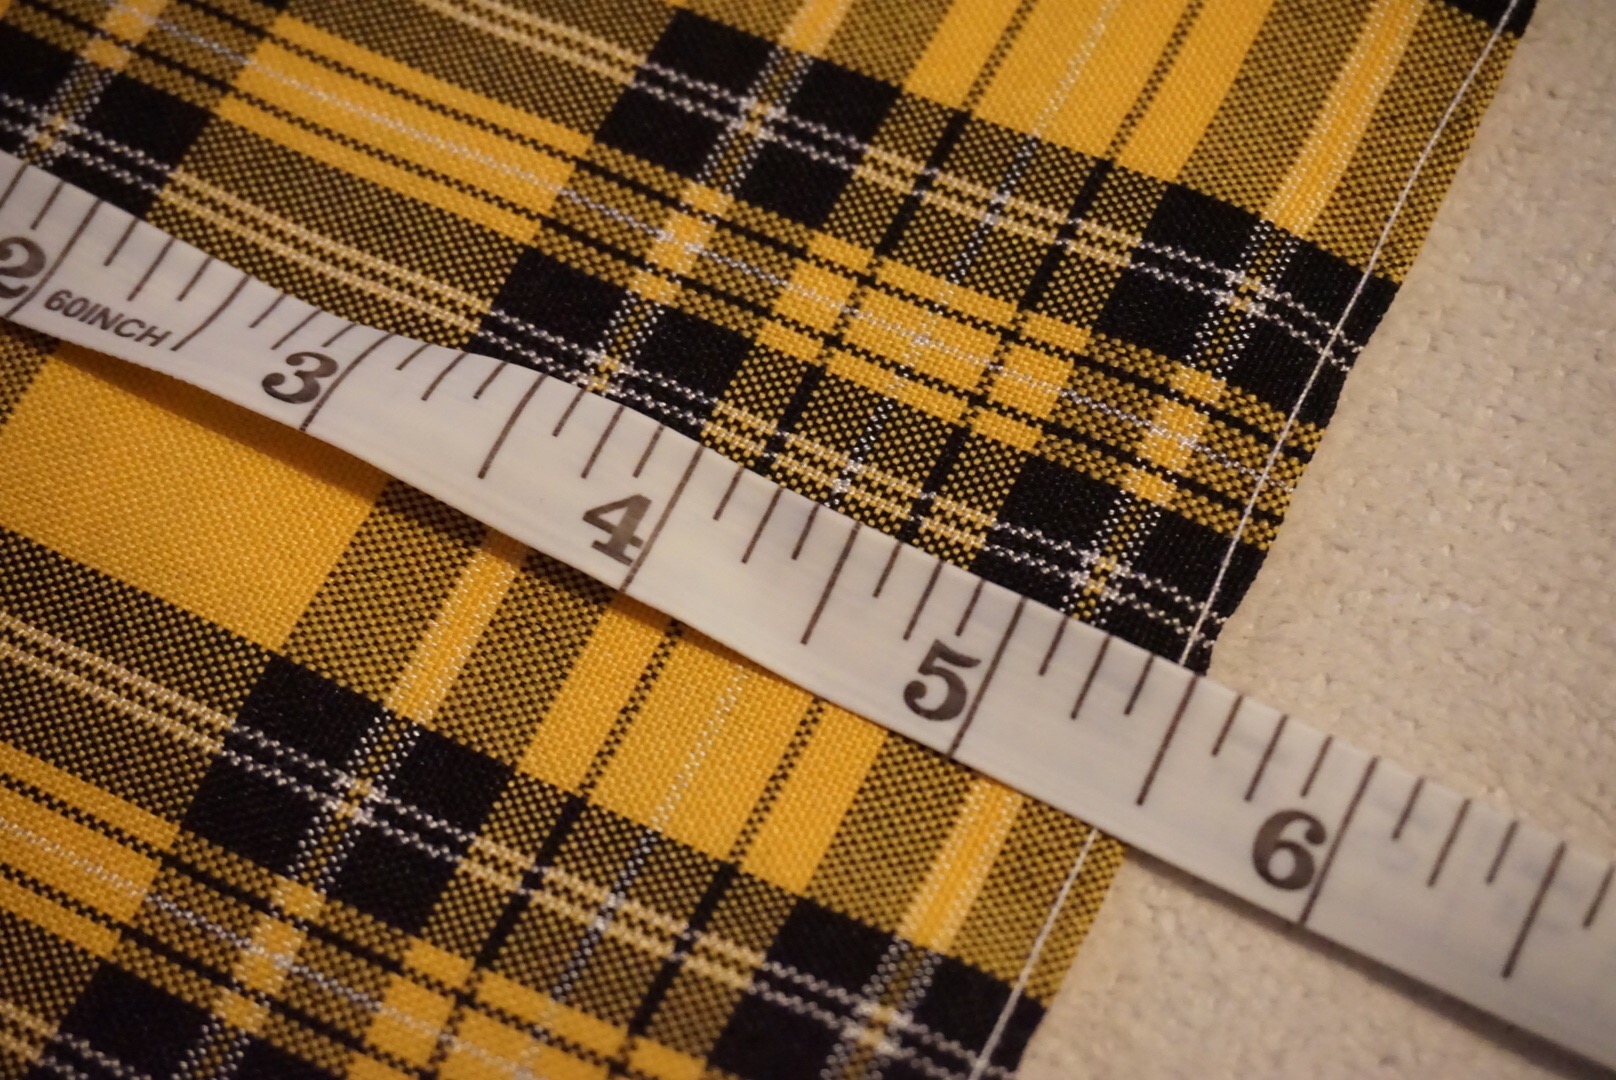
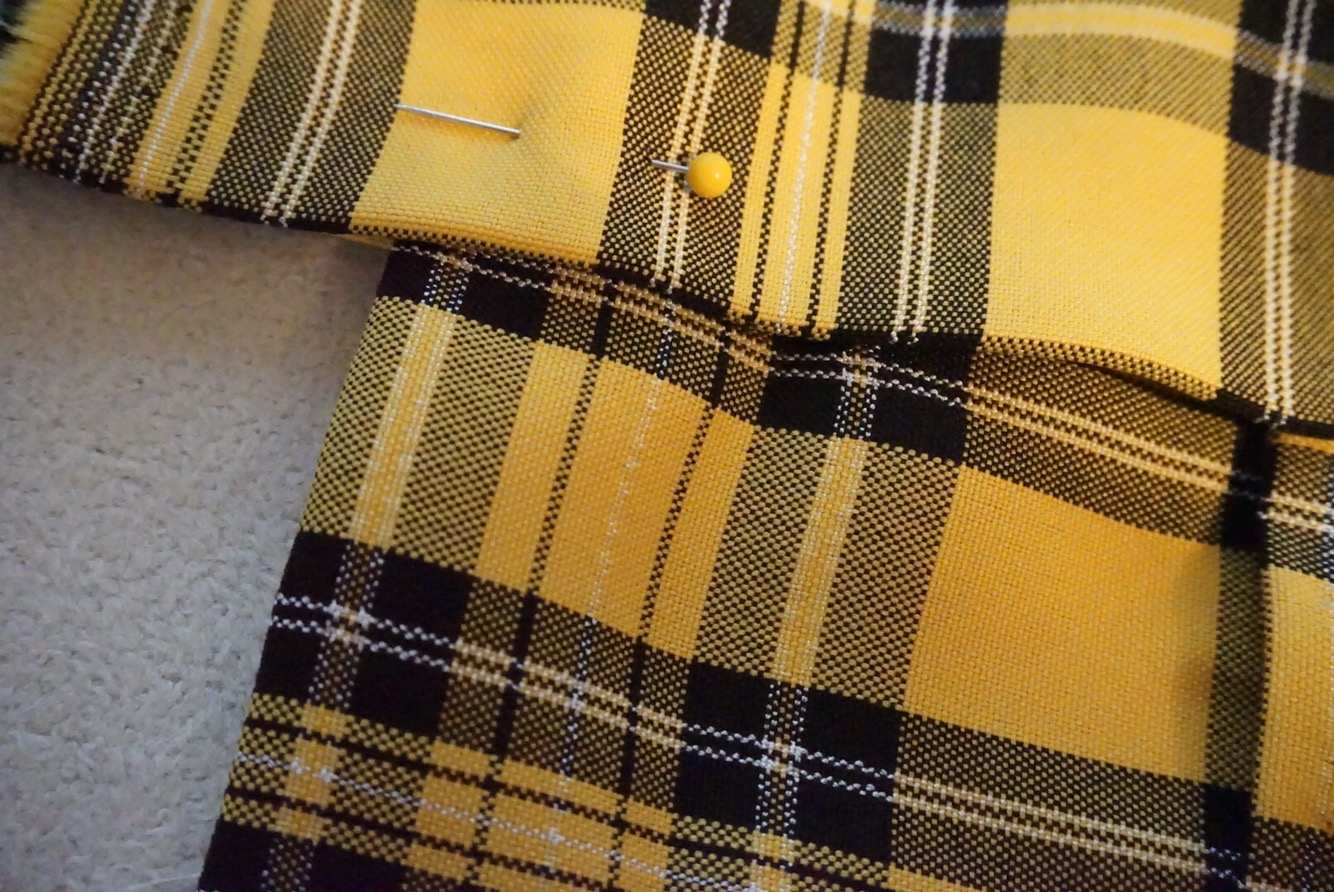
The yellow plaid fabric is not very stretchy so you must note this while creating your waist band. I went ahead and chose to use 5.5 inches for the width of my waist band. That means the thickness of the band going from my waist down to my hips. Then come the measurements around my waist/belly button area for the length of the waistband that will go around. Just to be safe, I added an excess of 6 inches of fabric for leeway. The fabric was then measured, cut, pinned down in place and once again, steamed ironed. After everything is nice and smooth, I added a straight stitch across the top of the skirt to keep everything together. Lastly, I folded a .5 inch inseam at the bottom of the waist band (the portion not sewn) for a crisp look.
Finally, it’s time to connect the two skirt sections together!
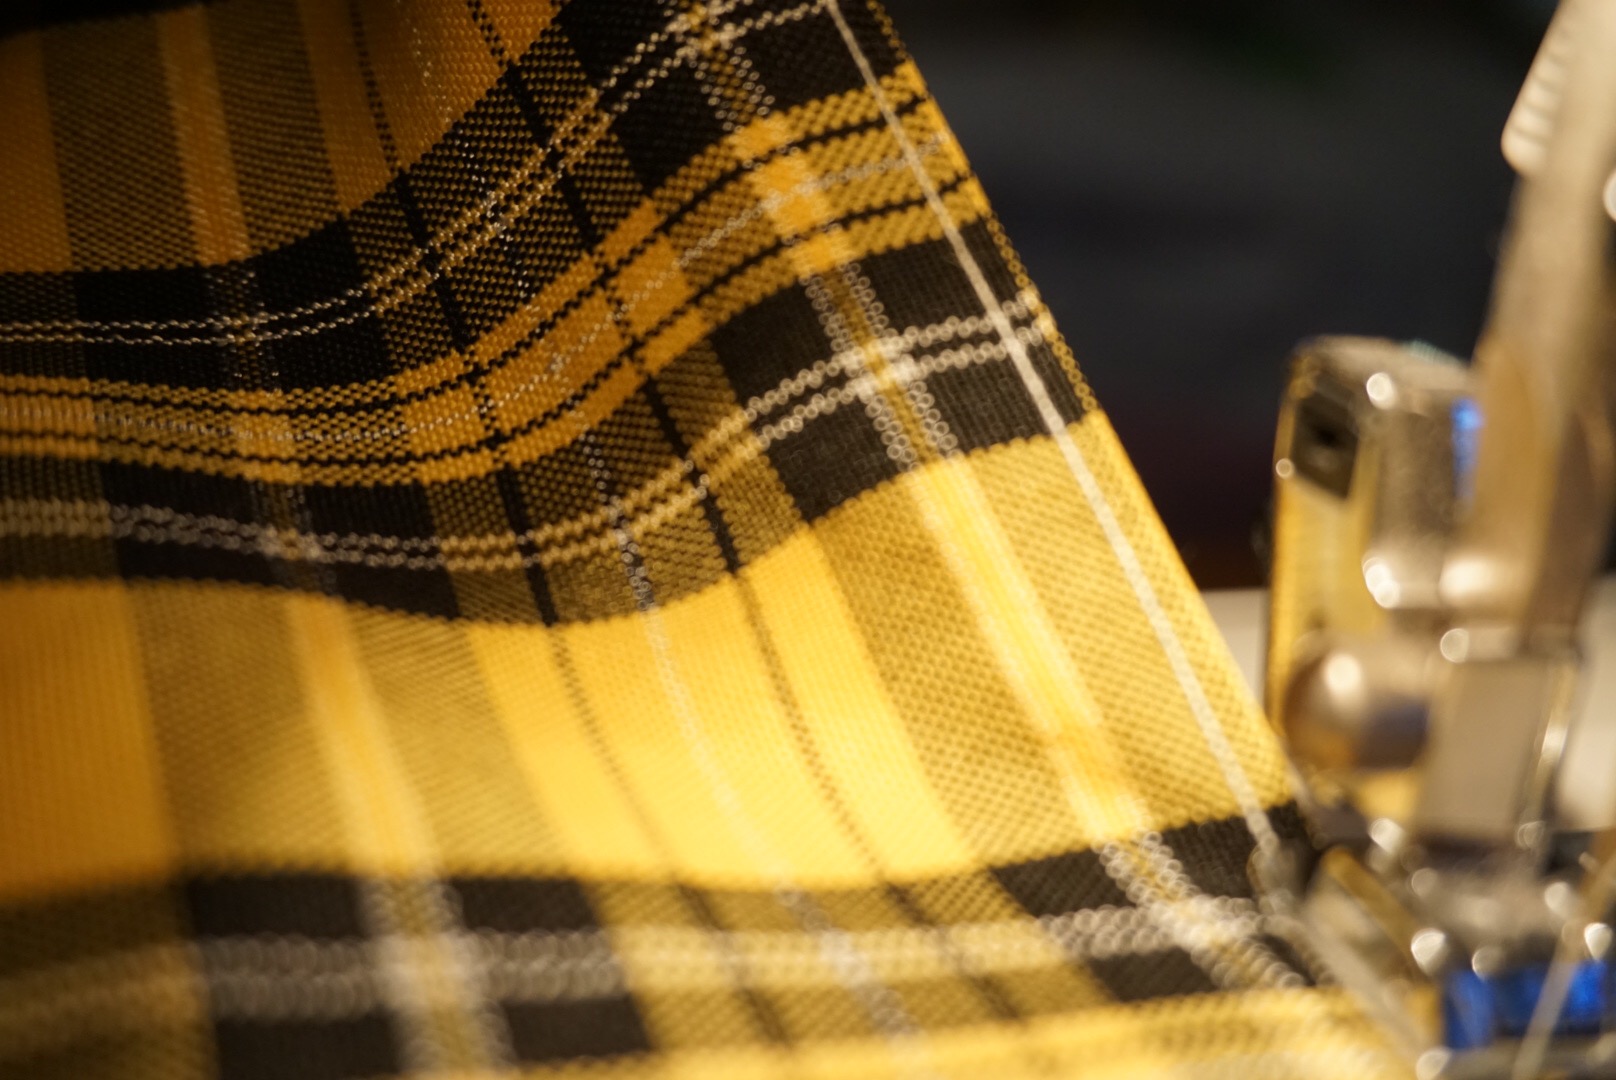
Your Cher Clueless outfit is almost done! You now place your fabric of pleats under the 5.5 inch waist band. I moved my fabric 3.5 inches inside the waist band and allowed the 6 inches of extra length to dangle at the end. I pinned. Steamed and then sewed both fabrics together and then viola. A replica and your very own yellow plaid skirt!
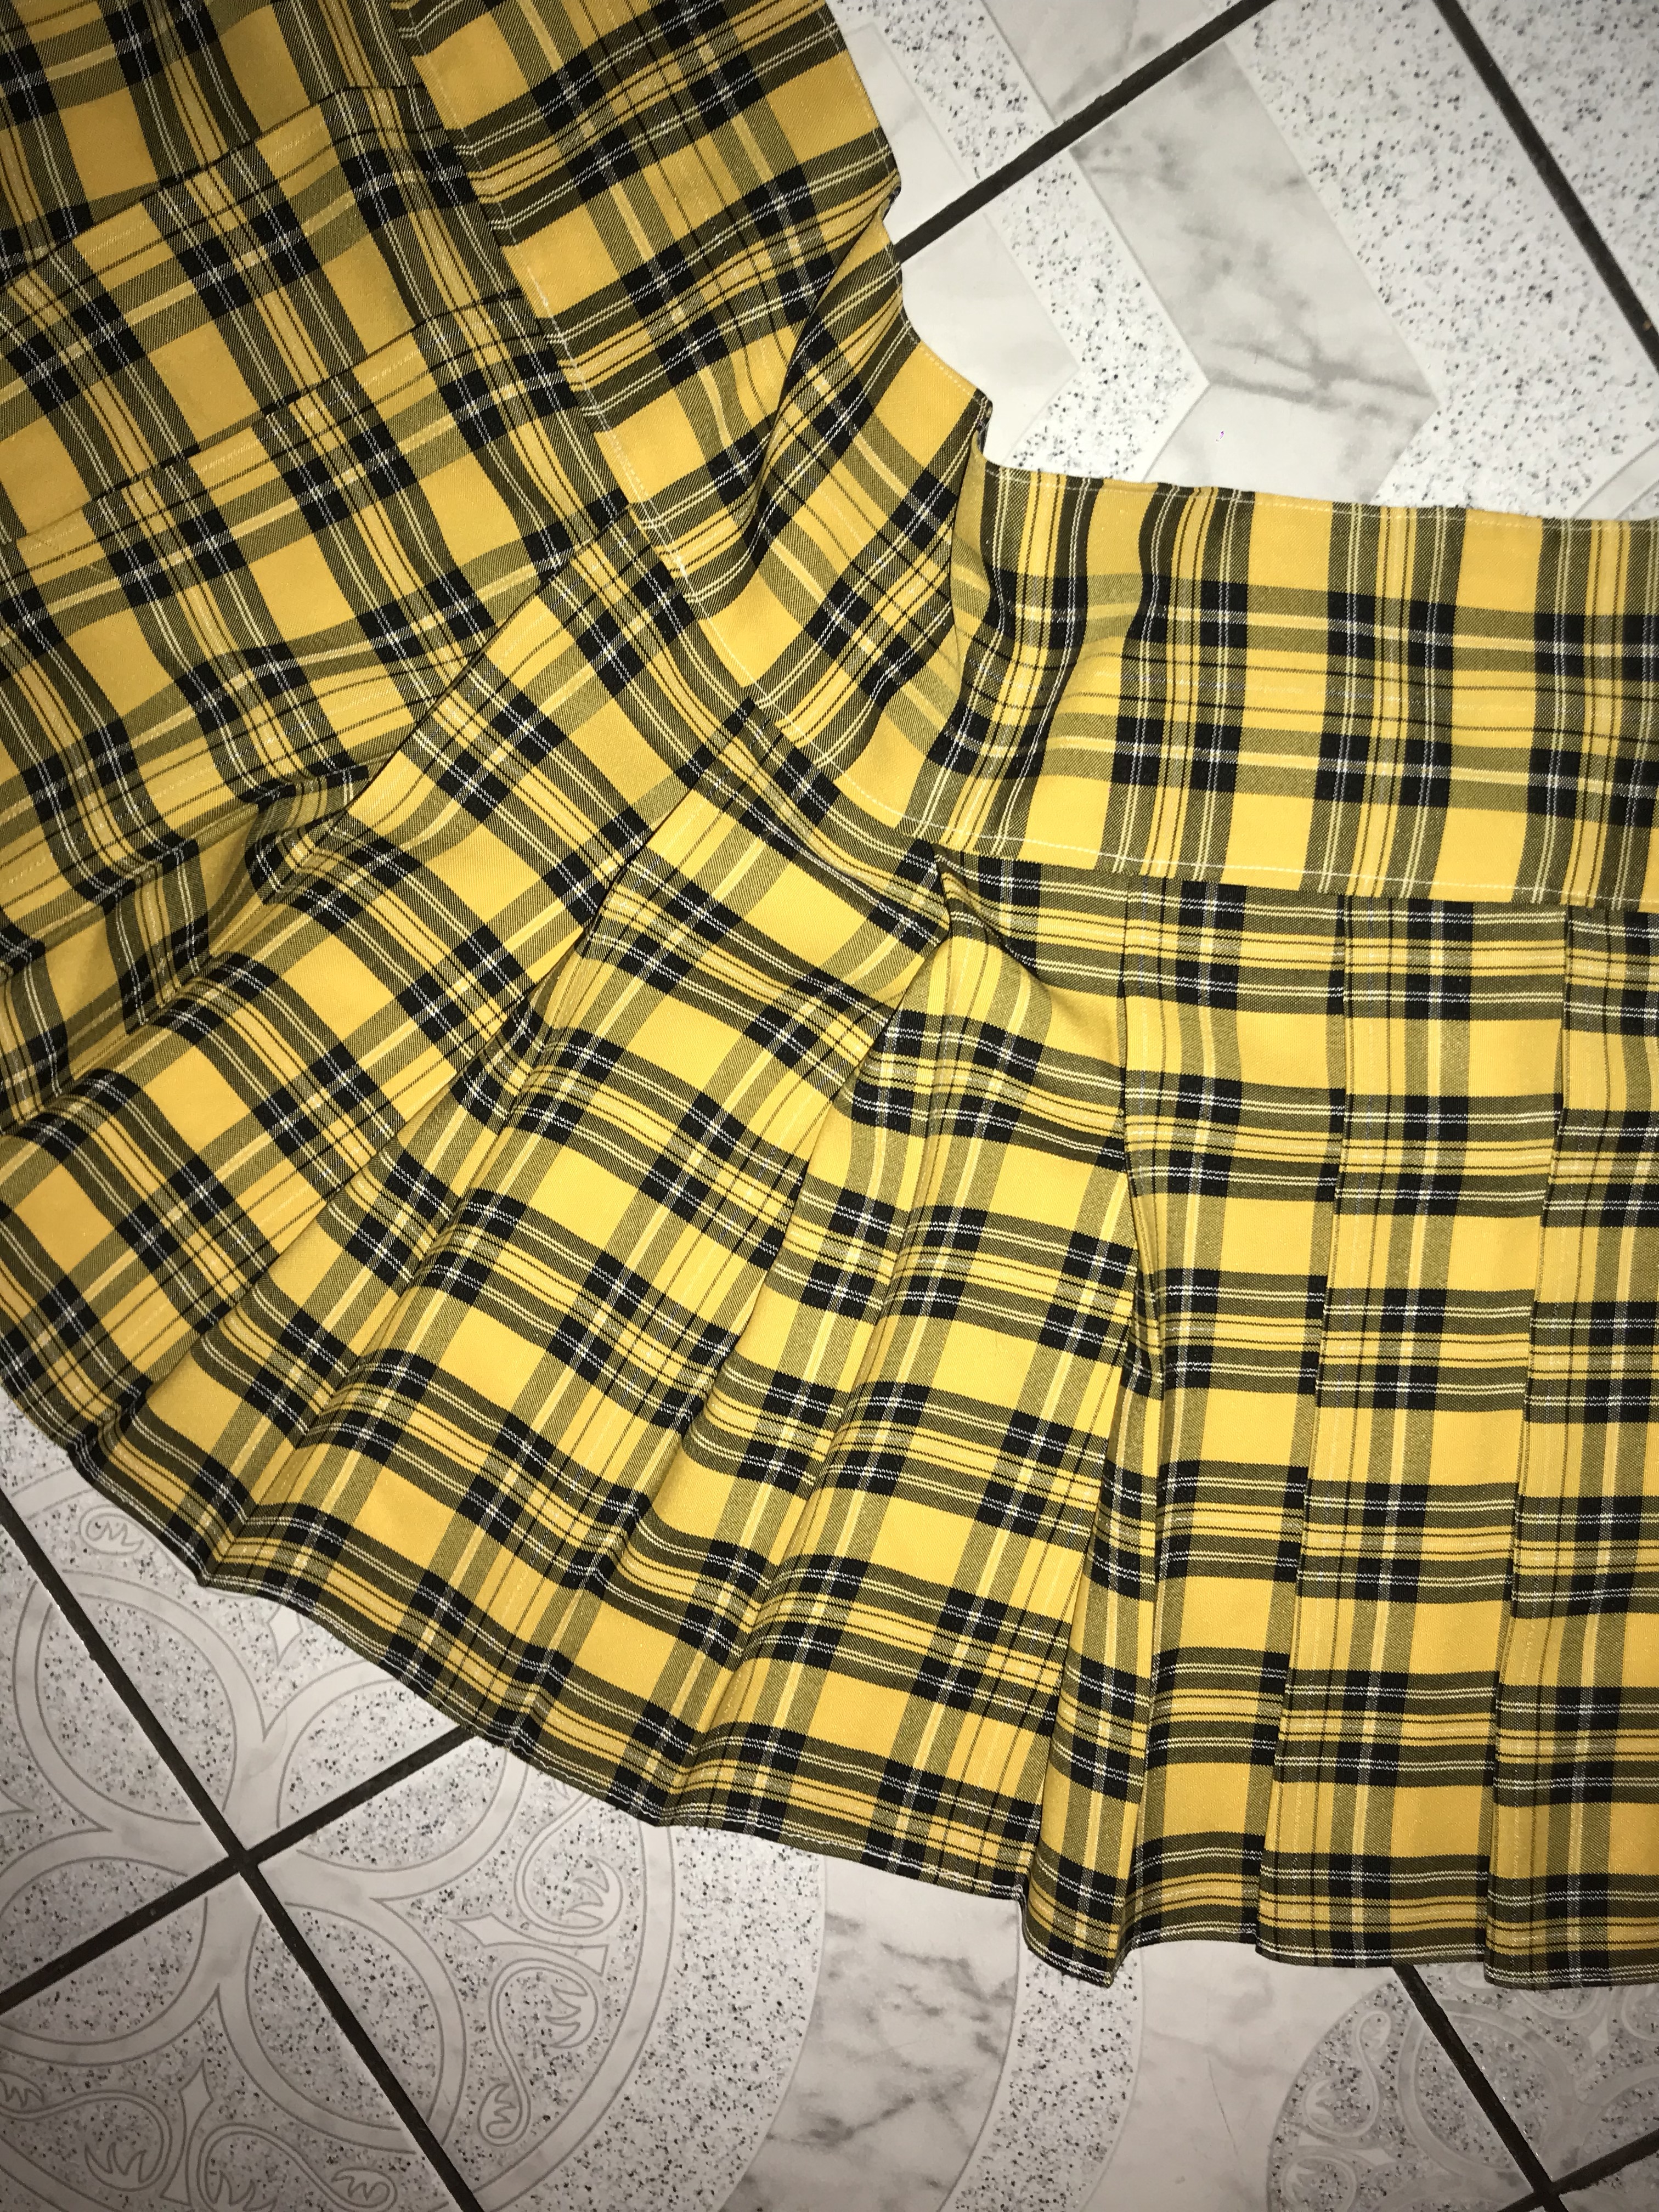
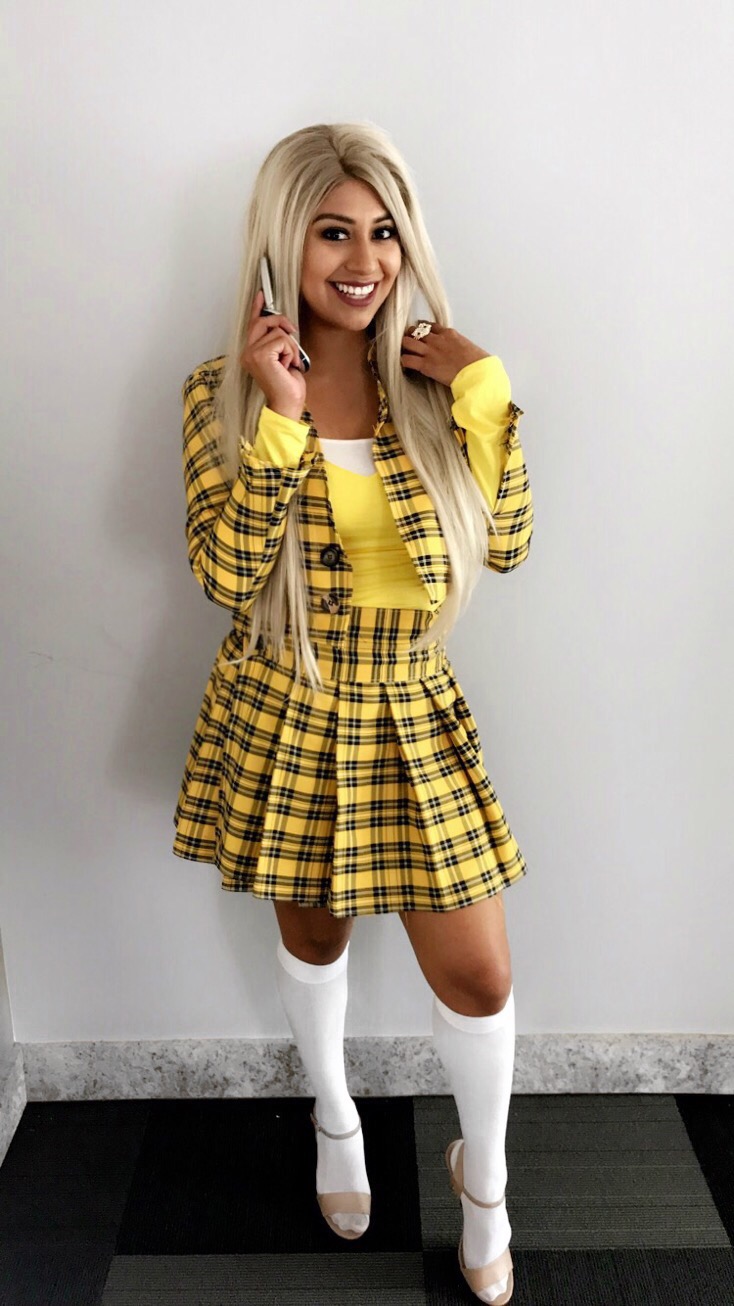
Your Cher Clueless Outfit Is Now Done!
It time to put on your Cher Clueless outfit and rock it to the nearest party or event. Find some groovy 90’s accessories like a flip phone, thigh highs and top it off with a blonde wig because why not!? There you have a completed Clueless look.
Get Your Accessories for this look using Amazon
Amazon is your online best friend! If you are missing any or all of your Clueless accessories, Even without Prime Shipping, their products always arrive on time or early. Below you can find all the required accessories for this classic Cher Clueless outfit.
- Brother Sewing Machine
- Lace Front Blonde Wig
- Yellow Cardigan
- Fake Flip Phone
- White Knee High Stocking
- Dream Girls pre-made outfit. In case you get frustrated and can’t even.
Let me know your thoughts on my DIY Cher Clueless outfit. I love to receive advice and tips for my future outfits. Also, let me know if you tried making this skirt!
While you are reading my blog you can check out my daily style for Spring here and some dressier options here. Don’t forget, style is what you make of it! Sparkle on babes!
This is AMAZING!! Clueless is one of my fav movies ever!!
Author
Mine too!! I had to pay my respects to Cher’s outfit and I hope I did it justice 🙂
By any chance do you remember which fabric store you bought the fabric from downtown?
By any chance do you remember which fabric store you bought the plaid downtown?
Author
Honestly I do not 🙁 I have had sooo many women ask me and I feel terrible I can’t remember. It definitely was a mission to find anything that was remotely similar to the original print. The area I looked in was between 10th and 8th St and Santee to San Pedro. But I can’t remember the shop name or actual street. I hope the general area helps you and you find it!!! <3
I totally understand. Thank you!
What pattern did you use for the jacket?